| MICROSEIKI RP5070修理記録 |
| 平成16年2月25日到着 2月27日完成 |
|
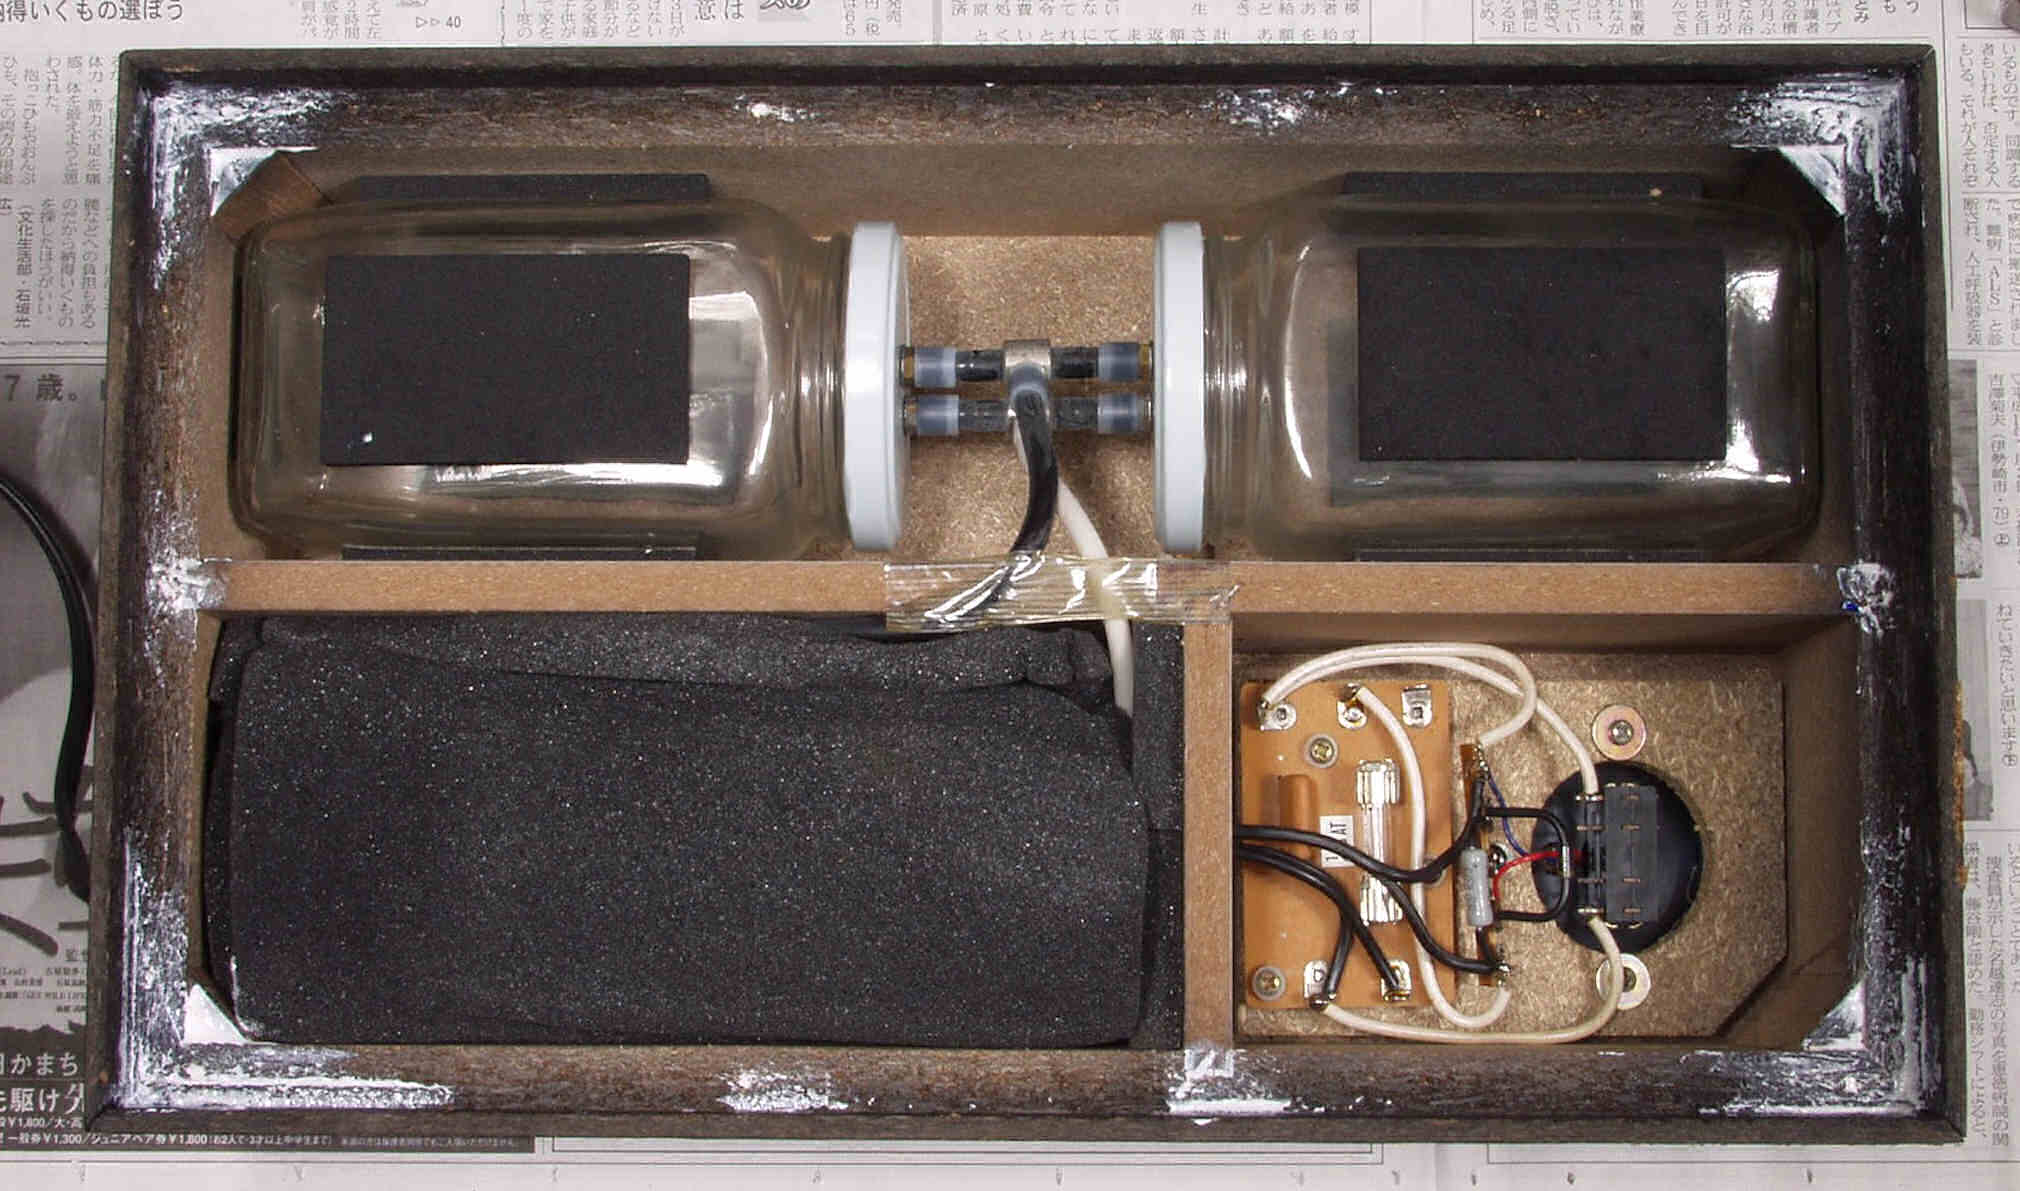
| C1A. 修理中 上蓋を開ける ビン・チャンバーが2個ある、これで脈動を吸収する |
 |
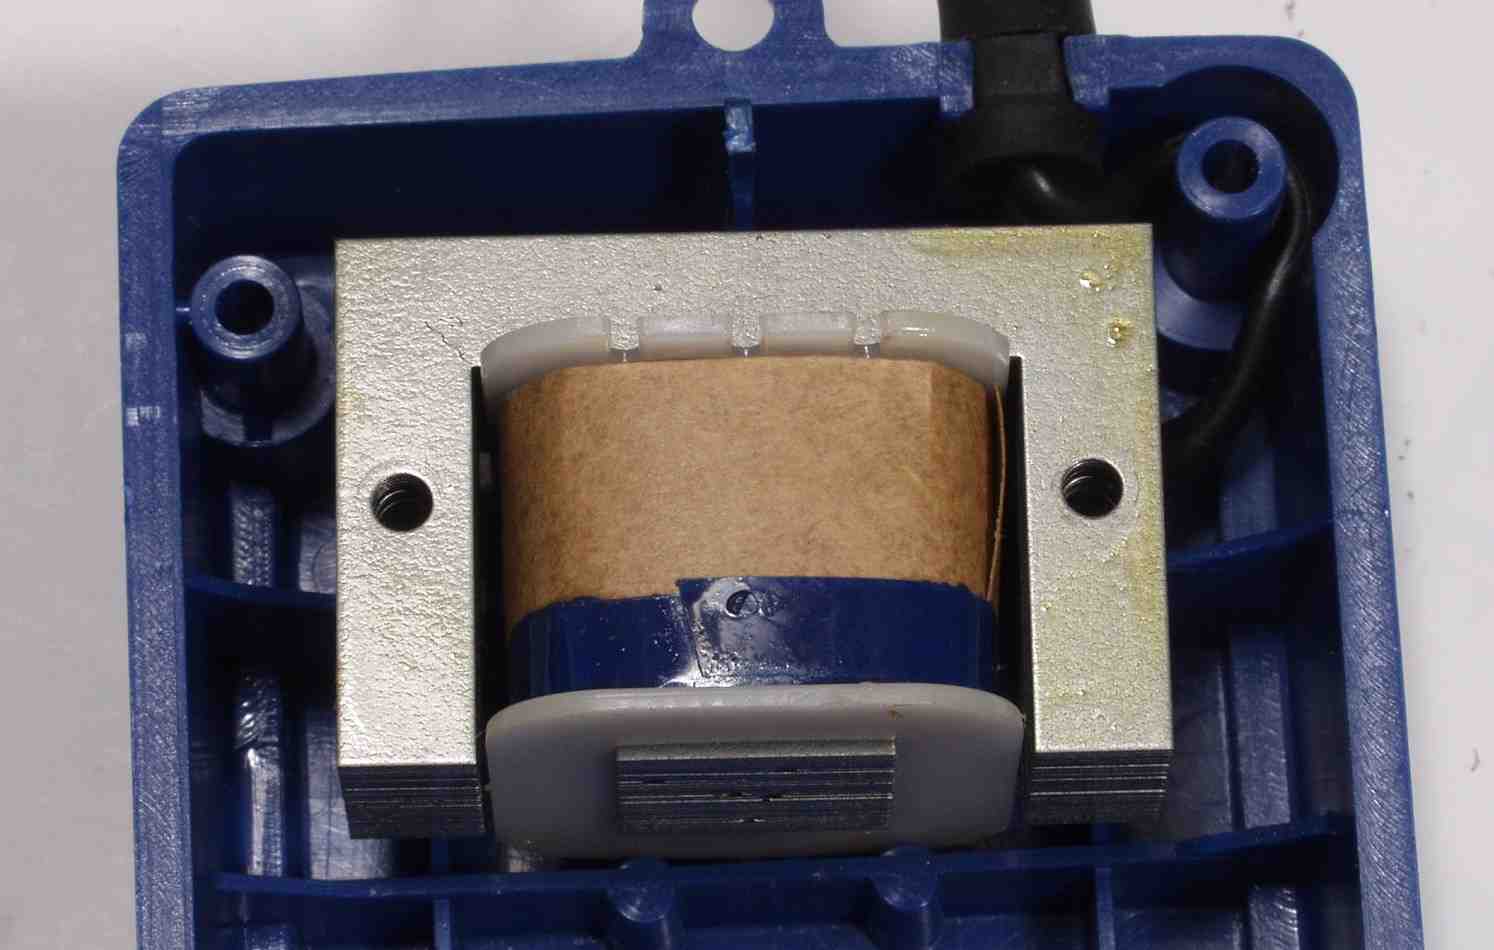
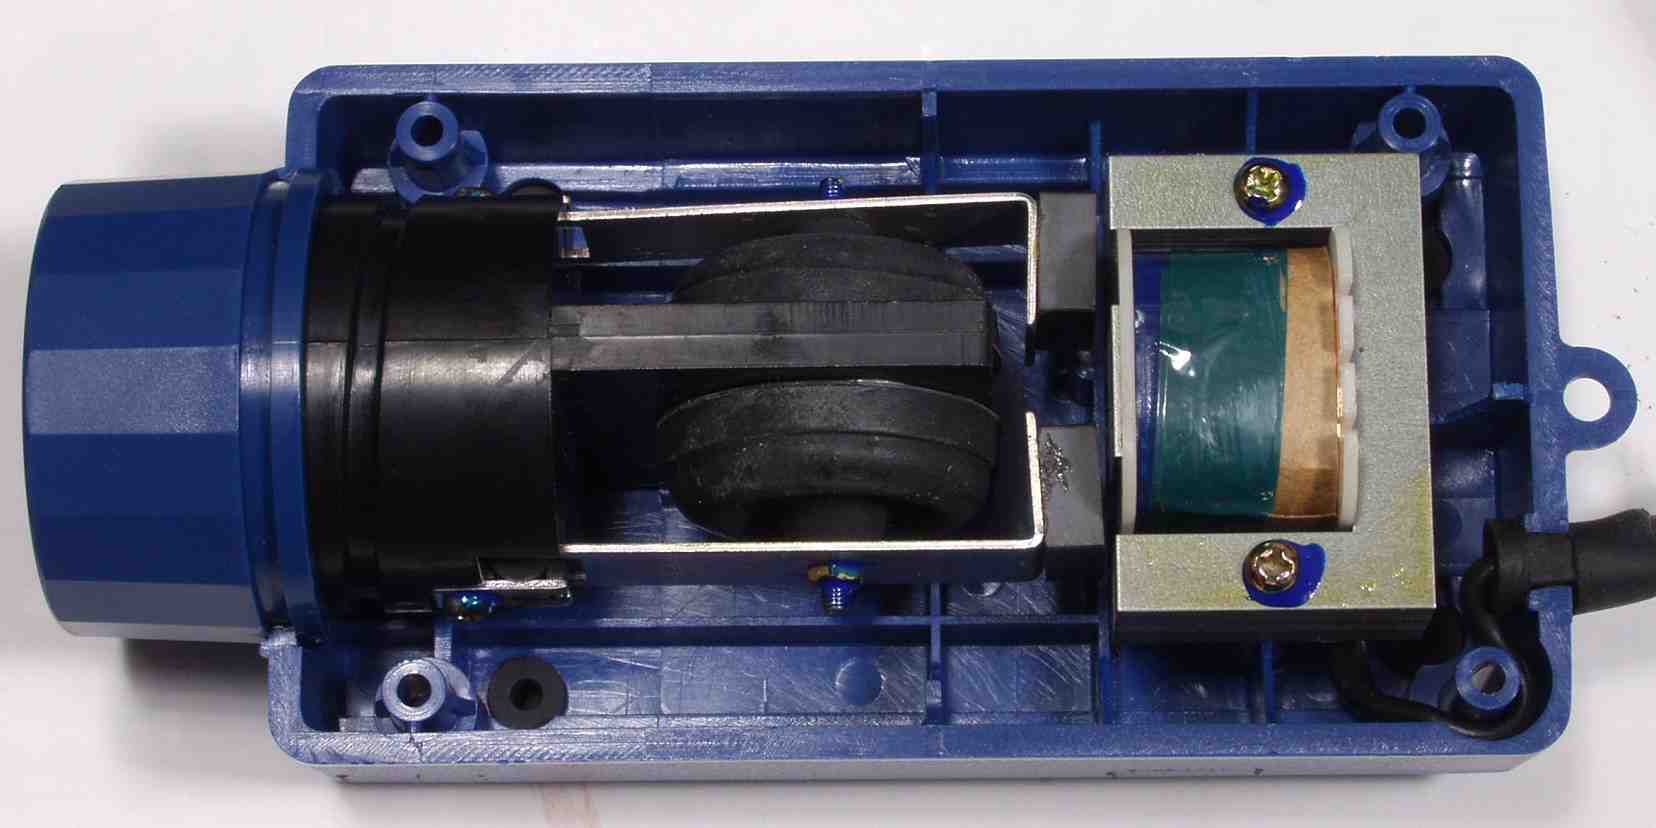
| C1B. 修理中 ポンプ・ユニット取りだす |
 |
| C2A. 修理中 ポンプ・ユニットの弁を清掃 |
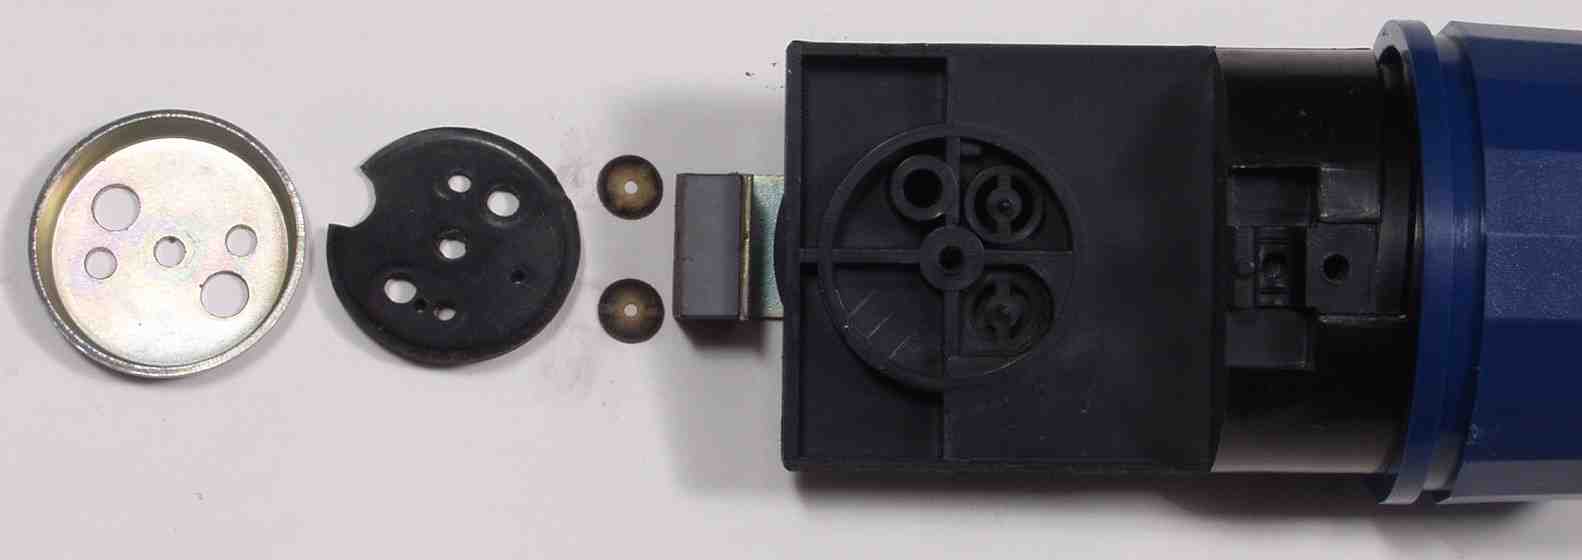 |
| C2B. 修理中 ポンプ・ユニットの弁反対側を清掃 |
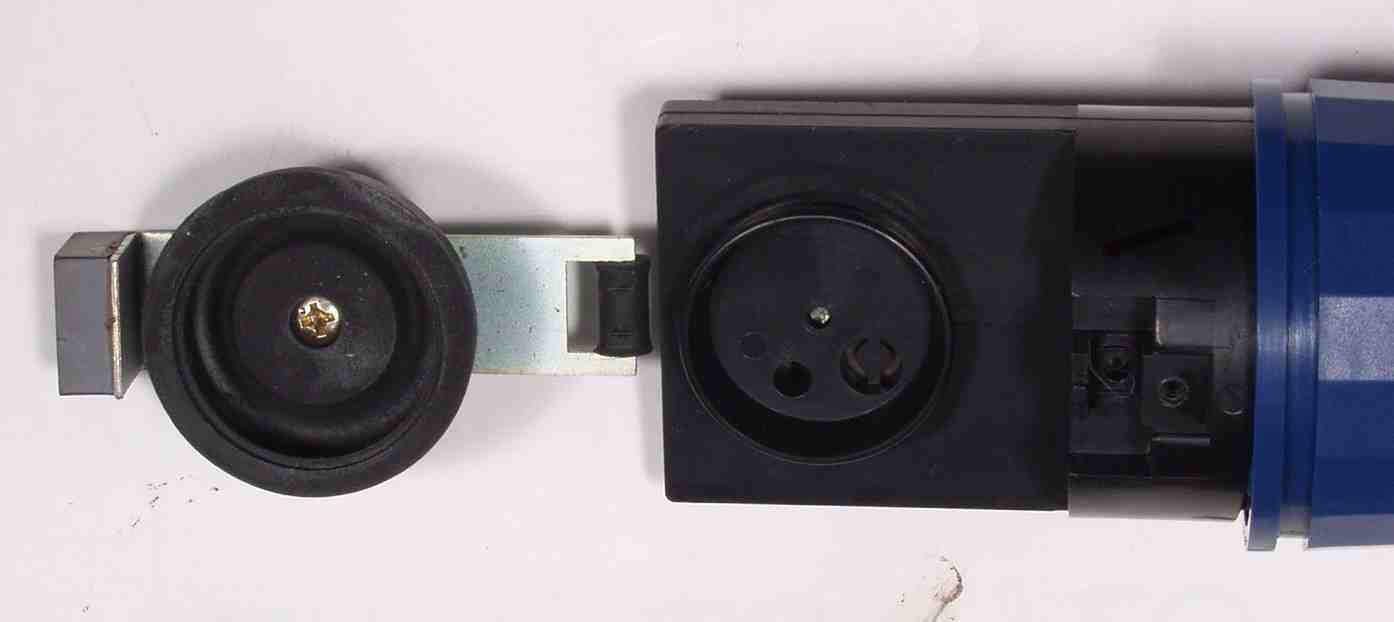 |
| C3A. 修理中 電磁コイルに導通無し |
 |
| C4A. 修理後 ポンプユニット組み付け完成、ゴムの所には、シリコン接着剤を塗布する |
 |
| C5A. 修理後 組み付け完成 |
 |
| C5B. 修理後 木工ボンドを塗る |
 |
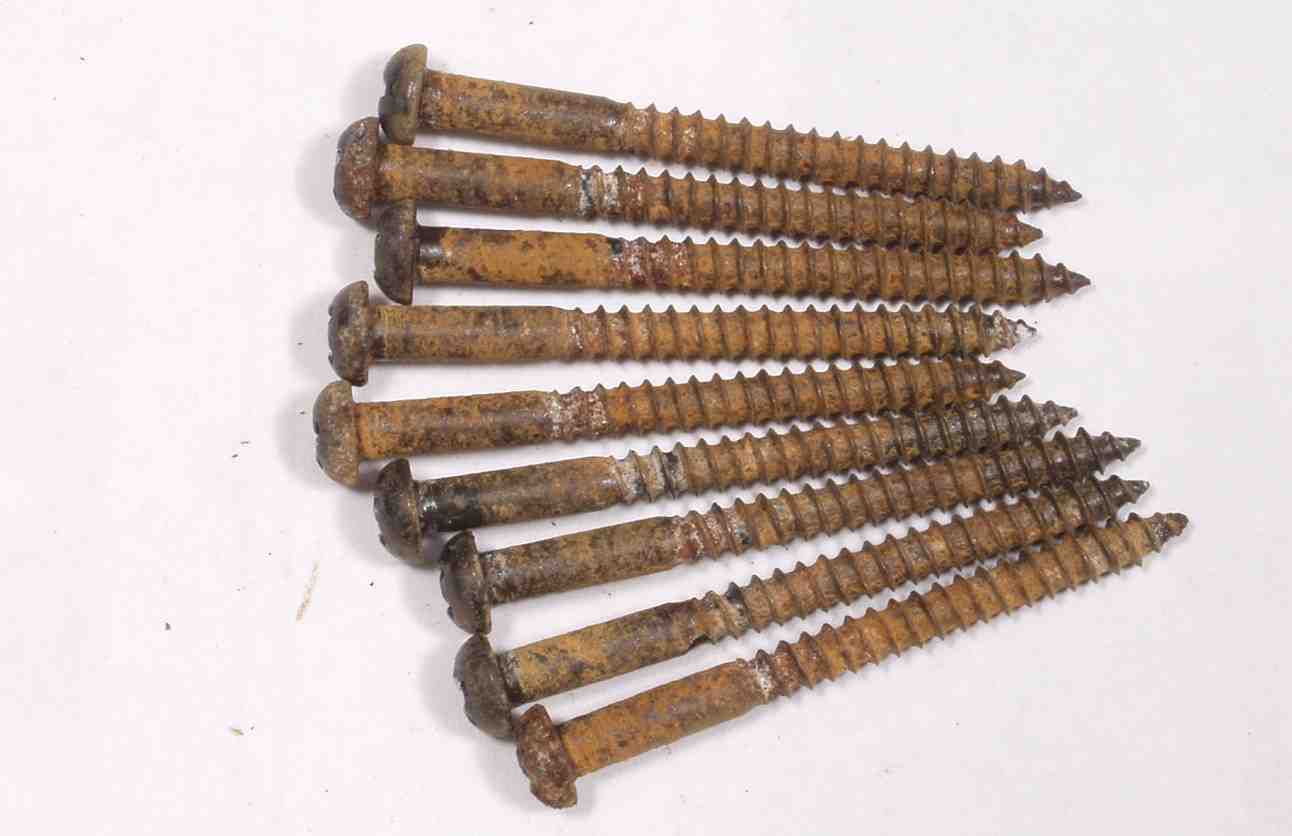
| C5C. 錆びたビス |
 |
| C5D. 軽くラッカーで塗装する |
 |
| C6A. 完成 |
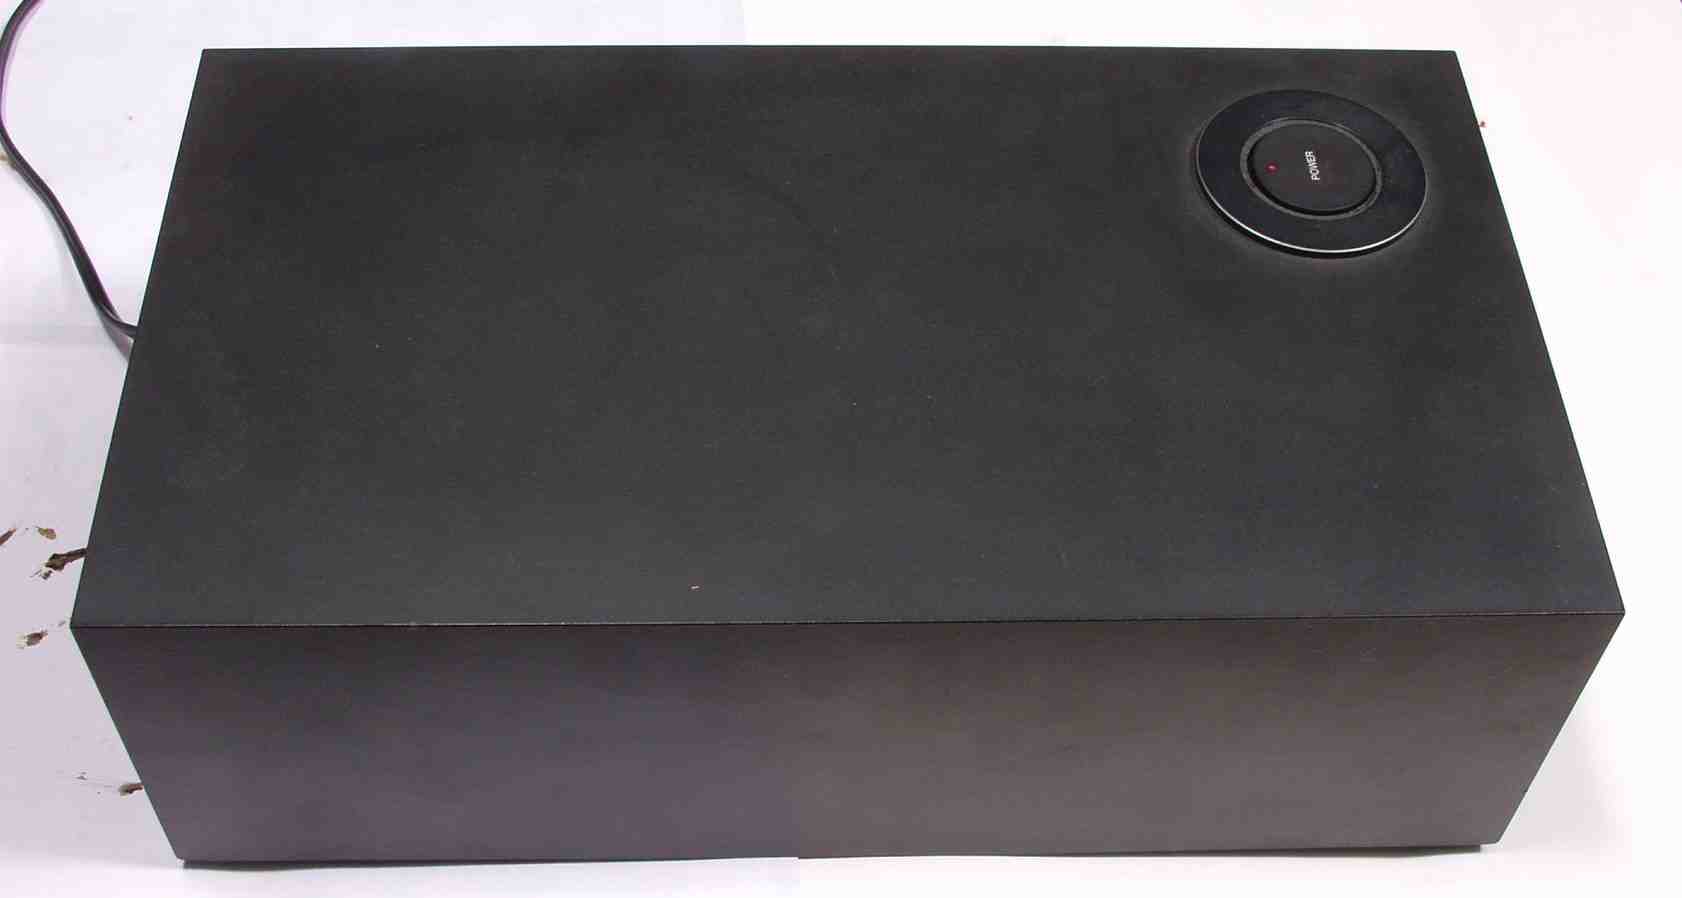 |
| C6B. 完成 |
 |
| |
| ここに掲載された写真は、修理依頼者の機器を撮影した者です、その肖像権・版権・著作権等は、放棄しておりません。 写真・記事を無断で商用利用・転載等することを、禁じます。 Copyright(C) 2021 Amp Repair Studio All right reserved. |